Right. You’re not here for theory.
You’ve got a door that’s too narrow. The specs don’t match. The pre-fab solutions laugh at you from their perfectly sized boxes. So you’re considering taking a saw to a life-safety device. I get it. The pressure’s on, the clock’s ticking, and code compliance isn’t a suggestion. This is the messy, unfiltered reality they don’t put in the glossy catalogs.
Let’s get the screaming disclaimer out of the way first, louder than a fire alarm: What you are contemplating is not a casual DIY project. You are planning to alter a piece of equipment whose sole purpose is to function flawlessly when people are scared, blind from smoke, and pushing with desperate force. A botched job doesn’t just look bad—it becomes a deadly obstruction. It voids listings. It invites lawsuits. It gets people killed.
If that sobers you up, good. This guide assumes you have competent metalworking skills and a pathological attention to detail. If not, walk away. Call an accredited door and hardware contractor. The cost of a professional is a fraction of the liability you’re flirting with.
Still here? Okay. Let’s talk shop.
The “Can I Even Do This?” Interrogation (Spoiler: Usually, No)
First, kill that hope of modifying anything fancy.
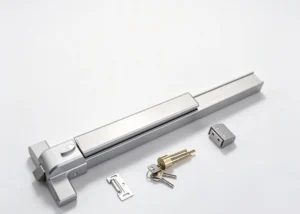
Mortise devices? Forget it. The intricately machined latchwork sits inside the door itself. You can’t shorten a door’s edge without a full rebuild. Flush-mounted bars? Nope. You’re looking strictly at surface-mounted, rim-type units. The ones that sit on the face like a big metal handle.
Material matters more than you think. A clean, extruded aluminum bar is your friend. It cuts predictably, files smooth. The bargain-bin special made of mystery zinc alloy? That garbage is porous, brittle, and prone to cracking under stress (and the saw blade). You’ll expose a crumbly, grainy interior that screams “I will fail.”
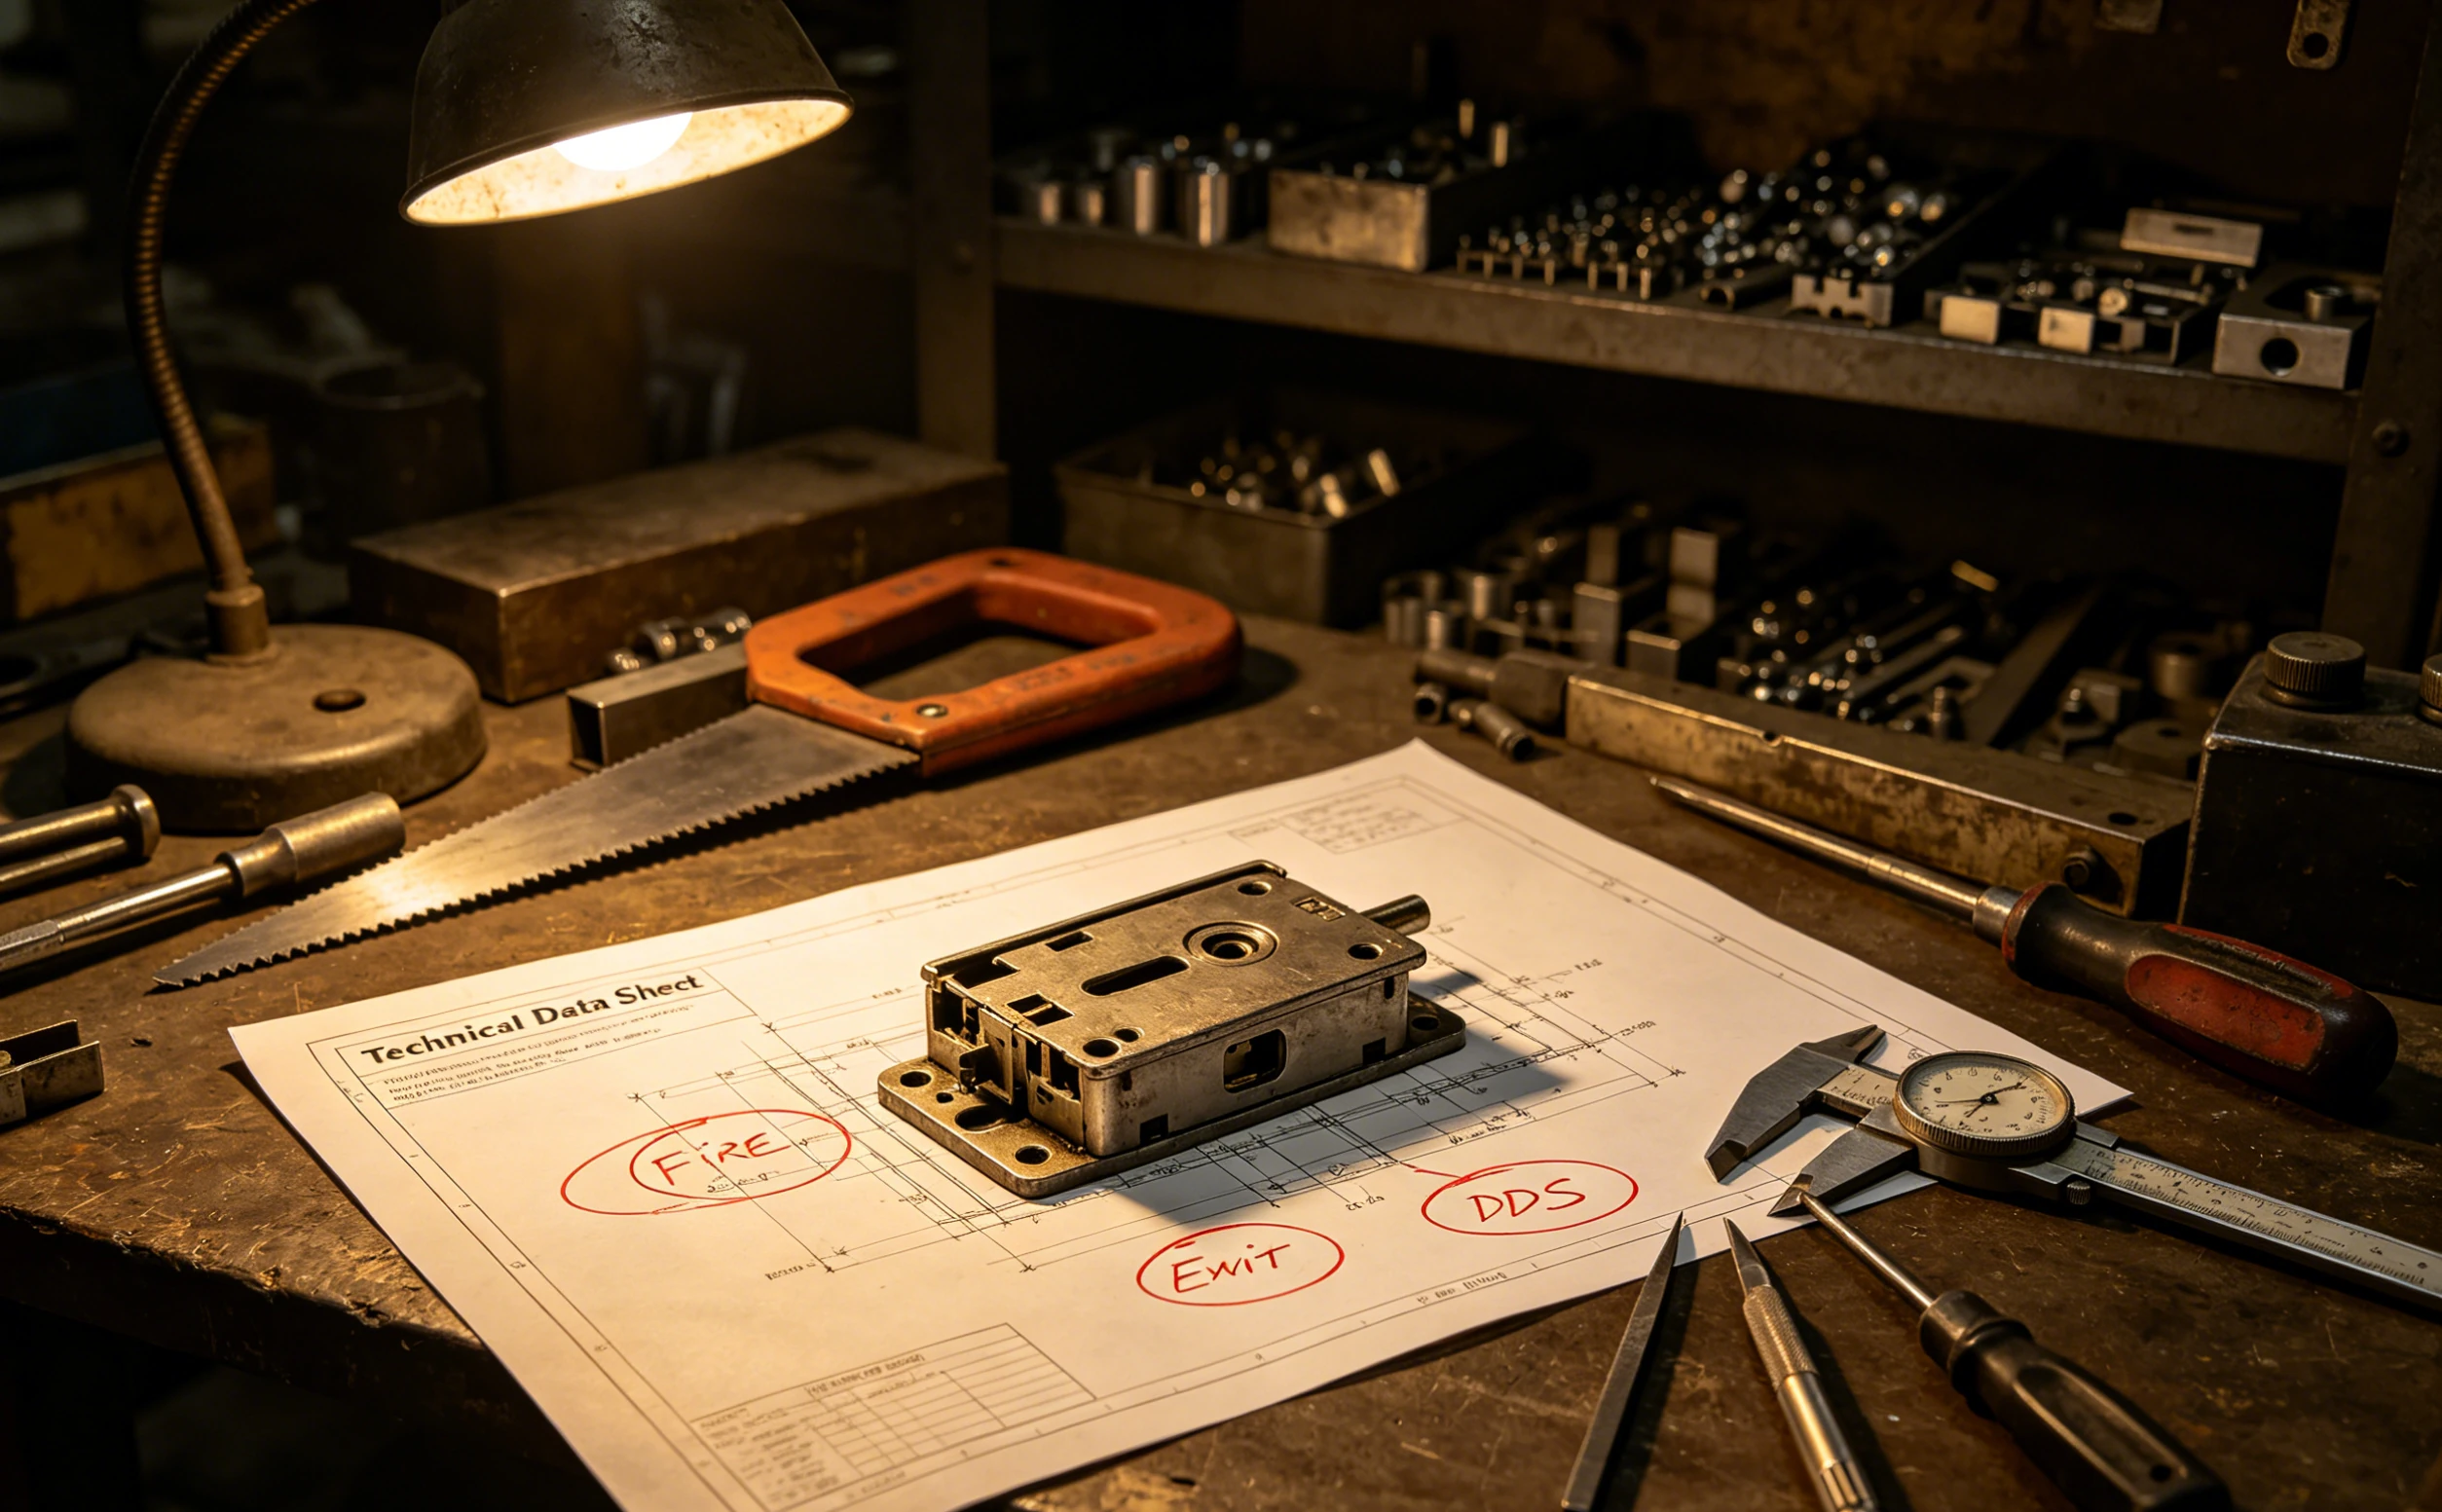
The single most important document you need doesn’t come from me. It’s the manufacturer’s Technical Data Sheet (TDS) or cut sheet for the exact model you bought. If that PDF doesn’t exist, or if it lacks a section on “field modification,” you have your answer. The manufacturer hasn’t engineered it to be cut. Proceed at your own profound risk.
A Detour on Sourcing: Don’t Buy Junk You Plan to Alter
This bit comes before the “how-to” because your biggest mistake happens at purchase.
You’re not buying a widget. You’re buying engineered life-safety hardware. The provenance is everything.
Skip the no-name online retailers. That “great deal” is a liability in a box. The metal is suspect. The springs are anemic. The finish is a veneer. When you cut into it, you’ll see the truth—and so will the fire marshal.
Find a distributor with a tech line, not just a checkout button. Call them. Grill them. My test question is always: “I need to fit a surface bar to a 31-inch door. Which of your models has a published field modification procedure?”
The silence on the other end is deafening if they’re clueless. A good supplier will name a model number instantly—”Yeah, the Detex E-Series allows that, let me send you the guide”—and follow up with the PDF. That’s your partner. The other guy is just a middleman for Chinese scrap metal.
Brands like Von Duprin, Alarm Lock, Detex—they build for this reality. Their designs often feature splined actuator rods you can trim, or end caps with clear cut lines. That’s intentional. They know doors aren’t always 36 inches.
The Chaotic, No-Flow Process of Actually Cutting the Thing
Forget linear steps. This is a puzzle where every piece affects the others. Breathe.
Phase 1: Measure Everything. Twice. Don’t even look at the saw. Lay the disassembled bar on a workbench. Get the TDS diagram. Your goal isn’t just “shorter bar.” Your goal is to have the end mounting plates land on solid door stock, typically within an inch of the stile edge. If your cuts force the plates over a hollow core or too close to the door’s cutouts, the mounting will be useless. People will rip it clean off the door. Figure out the total length reduction needed, then halve it. You’re cutting from the middle.
Yes, the middle.
Both halves retract inward. You remove equal amounts from each side of the central tube. Mark it with painter’s tape. This is your guide.
Phase 2: The Cut. Secure the aluminum tube in a vise with soft jaws. A fine-tooth blade on a miter saw is king here. A high-tension hacksaw will work, but your arm will hate you. The key is a slow, steady feed. Let the tool do the work. No forcing. You’ll feel the difference between a clean cut and a jagged tear.
Phase 3: The Devilish Details (End Caps & Internal Bits). This is where projects go to die. The end caps must be shortened to match, preserving the screw holes and the channel for the internal mechanism. Sometimes you’re cutting the “toe” of the cap; sometimes you’re taking it from the back. The TDS is your bible here. Miss this, and the bar won’t reassemble.
Then there’s the actuator rod—the internal spine that connects both halves. On a quality bar, it’s often splined and can be trimmed with a hacksaw. On a cheap one, it might be a odd mechanism that can’t be touched. You see now why buying the right hardware upfront is 90% of the battle.
Phase 4: Deburr Like Your Life Depends On It (It Does). Freshly cut aluminum has edges like razor blades. A single overlooked burr inside the tube can bind the mechanism or slice a wire. Use a file. Then use a finer file. Then run your finger along every edge. It should be smooth. This isn’t aesthetics; it’s functional necessity.
Phase 5: Dry Run & Mounting Mayhem. Reassemble the bar on the bench. Does it operate smoothly? Does the latch throw with authority? Good.
Now hold it to the door. The real test. If your new mounting holes land in a weak spot, you need through-bolts with backing plates. Those little self-tapping screws? They’re for show. The force of a crowd is immense. Distribute the load or watch it fail.
The Grumpy Truth They Won’t Tell You
Sometimes, the cleanest, most professional solution is to return the standard bar and order the correct, narrower model from the start. The labor, the risk, the liability—it often outweighs the cost difference.
I’ve seen “modified” bars with horrible slap, weak latching, and finish damage that rusts in a year. I’ve also seen perfect, code-compliant modifications done by a meticulous tech with the right tools and the manufacturer’s blessing. The difference is always in the planning, the quality of the base hardware, and the skill of the hands holding the saw.
This job has zero tolerance for “good enough.”
So, make your choice. If you proceed, own every measurement, every cut, every filed edge. Your signature, literal or metaphorical, is now on a device that must work when everything else is failing. And before you install a single screw, do the one thing that separates a responsible person from a cowboy: It is recommended to consult the local Authority Having Jurisdiction (AHJ), such as the fire marshal or fire code official. Get their eyes on your plan. Their approval isn’t red tape; it’s your final, and most important, quality control check.