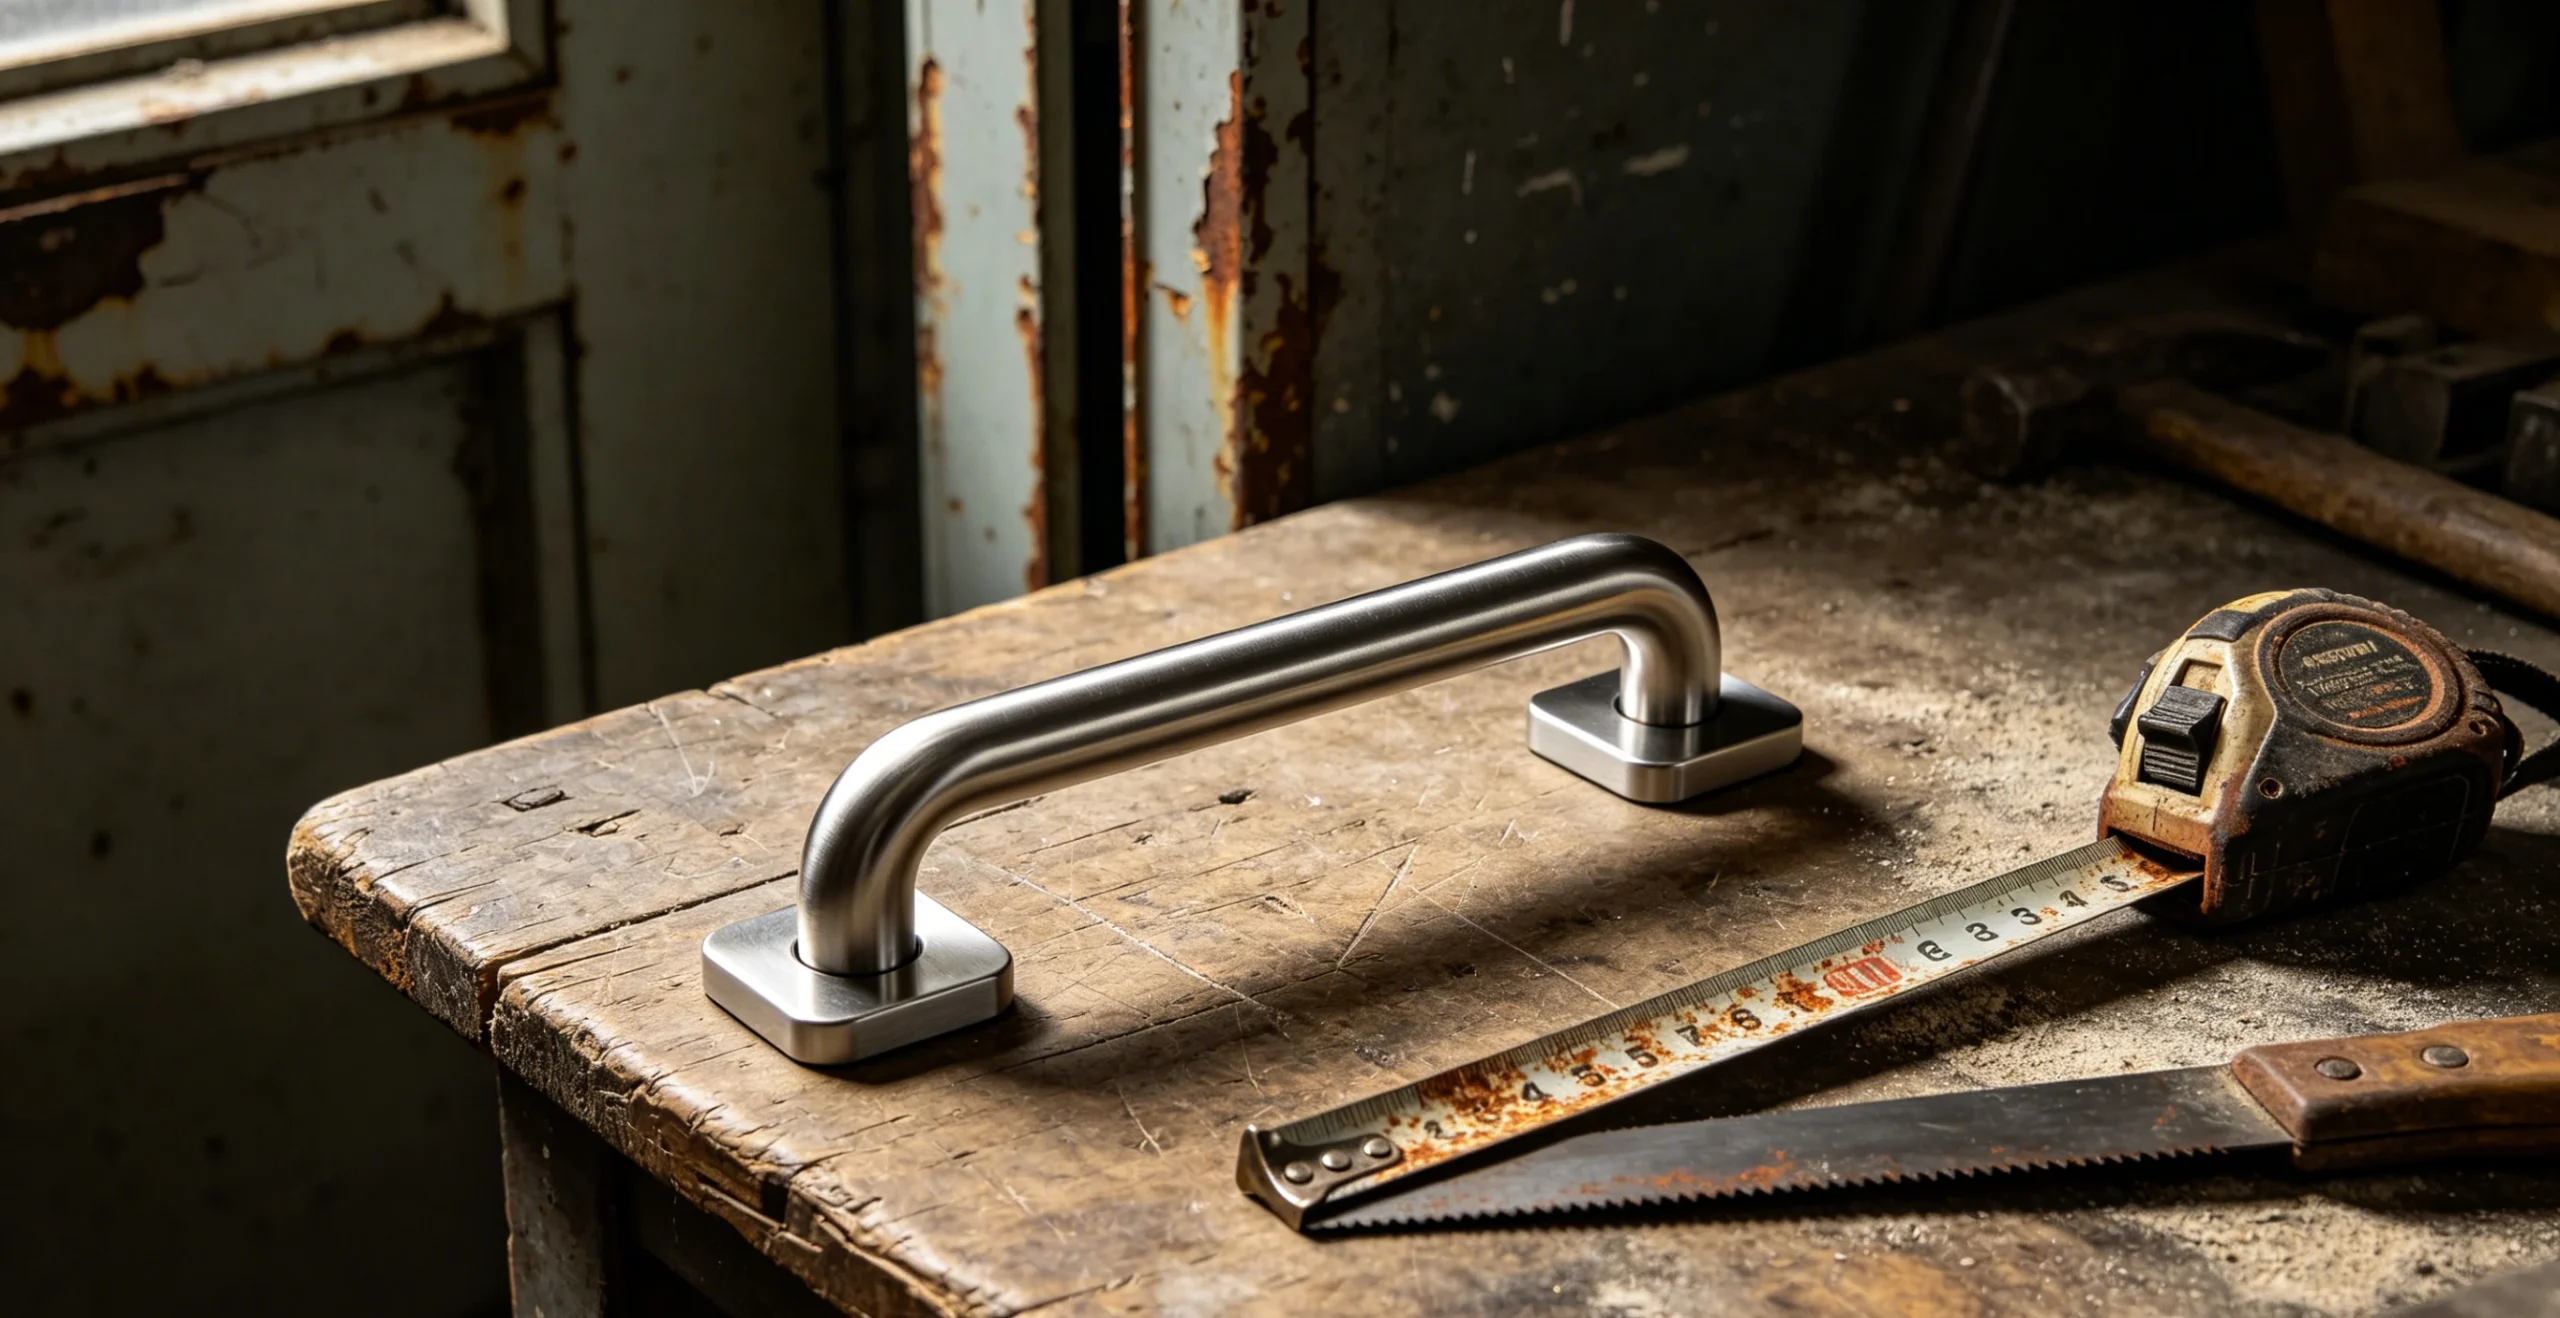
You stare at the door. It’s narrow. Unusually so. Maybe it’s a retrofit, a renovation afterthought, a tight corridor in an old building.
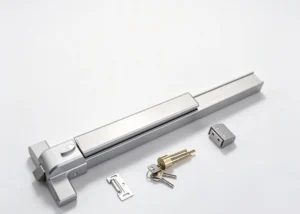
And there it is, the standard 42-inch panic device in its box. The push bar, the crash bar. The *touchpad exit device*, if we’re being formal. It’s sleek, engineered, and utterly, comically too long.
Your first thought is the carpenter’s thought. The fabricator’s instinct. Just cut it down to size. How hard can it be? It’s a piece of metal.
Then your second thought arrives, the one with a clipboard and a hard hat. This isn’t trim. This is a life safety device. The thing hundreds of people will instinctually shove against when the lights flicker and the alarm sounds. Their lives, quite literally, hinge on its integrity.
This is the tension. The messy, real-world conflict between physical fit and certified function. Between making it work and making it right.
Let’s wade into that mess. No sterile, step-by-step guide here. Just the fractured, looping considerations of someone who’s ordered, installed, and yes, sometimes modified, this hardware under the gimlet eye of a fire marshal.
We’re going to talk in circles. Because that’s how the problem unfolds.
***
Here’s a truth you learn after your first failed inspection: the moment you think about cutting a bar is the moment you should have thought about buying a different one.
I’m serious.
If you’re still in the procurement phase, halt. The cleanest, most elegant, and only guaranteed-to-be-up-to-code solution is to source the correct size from the jump. This is where your supplier choice shifts from a cost-center exercise to a risk-mitigation strategy.
Don’t just punch “panic hardware” into a generic e-commerce site and sort by price. You’re not buying paper clips.
You need a supplier that reps the actual brands—think Allegion (Von Duprin), ASSA ABLOY (Sargent), Norton. More importantly, you need one with a technical desk that answers the phone. A good supplier hears “narrow door” and starts asking questions you haven’t considered. Stile width. Frame depth. Fire rating of the assembly. They’ll pull submittal sheets and tell you, “Model 98 is field-trimmable from 36 inches down to 32. Model 99 is not. Don’t touch it.”
A bad supplier sends a pallet. You’re left alone with a hacksaw and a creeping sense of professional dread.
The calculus is simple. The premium for the right part and the right advice is cheap insurance against rework, rejection, and liability.
***
So you didn’t halt. The bar is here. It’s wrong. Cutting is on the table. But *how* you cut it defines everything. Forget types of doors. Think in terms of methods. This is the taxonomy of modification.
**The Sanctioned Trim.**
This is the path of least resistance, provided you’re on it. Specific models from major manufacturers are designed as “field-trimmable.” The end caps pop off. The aluminum rail is just an extrusion. The guts—the latch bolt, the springs, the magic—are housed in a sealed, centralized cartridge.
The installation guide isn’t a suggestion; it’s a scripture. It will say, in clear, unambiguous language: “MAY BE TRIMMED A MAXIMUM OF 1/2 INCH (13 MM) FROM EACH END.” You follow it. You use a fine-tooth blade. You deburr. You reassemble.
You keep the UL listing. You keep the warranty. You sleep at night.
It’s a procedure, not a project.
**The Shop Job.**
Now we’re talking about serious hardware. Heavy-duty rim devices for fortified openings. You’re not cutting this in the stairwell with a hand saw.
This is for a certified door shop or a metal fabricator with a vertical bandsaw and a technician who knows how to disassemble a complex mechanism without launching springs across the room. They’ll jig it. They’ll cut it true. They’ll re-drill mounting holes with precision and dress every edge to a safe, smooth finish.
It’s expensive. It’s also correct. This is the move when the hardware is monumental but the door isn’t.
**The Bodge.**
We’ve all seen it. The horror show. A cheap, non-trimmable bar, a tape measure, and an angle grinder.
The heat warps the rail. The sparks scar the finish. The internal linkage gets packed with aluminum shavings. The reassembly is forced, the end caps never quite seat right, and there’s a sharp, naked edge where the factory coating used to be.
It looks terrible. It feels worse. And the first time someone actually leans into it during a drill, you hear a sickening crunch.
This isn’t a solution. It’s a liability fabrication. A surefire way to buy the same hardware twice, plus a labor charge to remove your mistake.
**The Workaround.**
Sometimes the smartest cut is the one you don’t make.
Before you alter the device, interrogate the mounting. For narrow stiles on double doors, offset brackets or mastication kits can relocate the entire bar inboard, gaining you the clearance you need. Mullion brackets can achieve similar miracles.
Moving hardware is almost always preferable to mutilating it.
***
See how we looped back? We started with buying, jumped to cutting, and landed on bracketry. The process isn’t linear. It’s diagnostic.
A reliable supplier is your diagnostic partner. They short-circuit this chaotic flowchart. They ask the annoying questions early. Door width? Not the opening—the actual door slab. Single or pair? Fire rating? Frame material?
With those answers, they can often spike the whole “cutting” conversation. “For a 28-inch stainless steel door with a 90-minute rating? You don’t want a trimmed touchpad. You need a surface-mounted vertical rod device. Here’s the part number.”
That’s value. Not in margin, but in saved time and avoided catastrophes.
***
You still have questions. They’re the same ones everyone has right before they make a mistake.
**Can’t I just use an angle grinder? It’s quicker.**
Sure. And you can use a sledgehammer to drive a finishing nail. Speed isn’t the virtue here. Precision is. Control is. An angle grinder is for demolition. It generates destructive heat and leaves a ragged edge. For a clean cut on extruded aluminum, you want a miter saw with a blade for non-ferrous metals, or at minimum, a high-TPI hacksaw with a guide. The right tool doesn’t just make the job easier; it makes the outcome viable.
**What if I only need to take a bit off one end?**
Almost never works. These devices are symmetrically engineered. The latch case is dead center. The mounting holes are patterned from the middle. Trimming one end throws the entire geometry into the weeds. The end cap won’t fit. The push pad will be off-center. It’ll look wrong and function worse. Manufacturers specify equal trim from both ends for a reason.
**What happens to the warranty?**
For a non-trimmable bar? It’s void. Instantaneously. The moment you break the factory seal or alter the housing, you own all future problems. For a trimmable model, following the *exact* procedure *should* preserve it. But “should” is a fragile word. Get confirmation in writing from your supplier or the manufacturer’s rep. Cover your bases.
**I cut it. Now the mechanism is binding. Why?**
You cut into a section that contained part of the internal linkage or a spring channel. Or, metal particulate has infiltrated the latch chamber. Or, during reassembly, you misaligned a rod or crosspiece. This is the core risk of amateur modification. The device is now a complex paperweight. The cost of a replacement just doubled, as you’ve added labor for removal.
**The cut edge is sharp. Does it matter?**
Is a lawsuit a meaningful concern to your operation? Of course it matters. Deburr. File. Smooth. Then hit it with a touch-up pen or spray paint that matches the finish. A panic bar shouldn’t be a source of lacerations. This is non-negotiable finish work.
***
Here’s my unfiltered take, the grumpy truth after twenty years: The entire discussion around cutting panic hardware is a symptom of a earlier failure. It’s a corrective action for a planning or procurement oversight.
The goal was never to modify a device. The goal was to provide a compliant, reliable means of egress.
Sometimes, in the tangled reality of existing buildings, modification is the only pragmatic path. When it is, you move with respect for the engineering and the code. You follow the sanctioned path for a trimmable unit, or you subcontract to a shop that has the tools and the tacit knowledge.
But never let it be your first option. Always let it be your last, well-informed, carefully executed resort.
Your final step, before any metal meets blade, is a conversation that transcends suppliers and installers. It is recommended to consult the local Authority Having Jurisdiction (AHJ), such as the fire marshal or fire code official. Their approval is the only metric that ultimately counts. Bring them the manufacturer’s trimming instructions. Bring the shop’s certification. Bring your plan. Their nod is your permit. Everything else is just noise.