Let’s skip the part where I pretend this is a normal how-to guide. You’re not here for platitudes. You’re here because a piece of paper from a guy in a municipal badge says you need a panic device, or maybe your own common sense finally screamed louder than your budget. The back door is a death trap if the front is blocked. You’ve decided to handle it. I respect that. But we’re going to do it with our eyes open, not glossed over with optimistic marketing.
This isn’t about creating a showroom piece. It’s about installing a dumb, reliable, legally-compliant hunk of metal that works when sweat is pouring down your back and the lights are out. Perfection is the enemy of “up to code.” Let’s embrace that.
First, a grumpy truth. That term “easy DIY”? It’s mostly a lie. Relative? Sure. Compared to rewiring your building’s fire alarm panel, yes, installing a rim panic bar is straightforward. But “easy” implies no stress, no precision, no chance of creating a very expensive, non-functional door-shaped paperweight. We’re not assembling flat-pack furniture. We are modifying a primary egress point. The stakes are non-zero. So let’s reframe: it’s *achievable* for a prepared, tool-equipped, and patient person. If that sounds like you, read on. If not, your best DIY move is dialing a certified locksmith. Seriously. No judgment.
Panic Hardware 101: Cutting Through the Catalog Nonsense
You need to know what you’re buying. The hardware world loves confusing names. Crash bar, push bar, exit device. Let’s simplify.
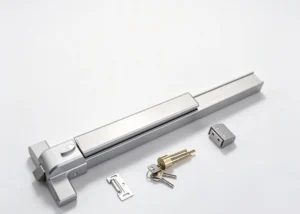
Rim devices are your workhorse. They live on the inside surface of the door. Picture every office or school door you’ve ever shoved open with your shoulder. That’s the one. For a standard out-swinging metal or solid wood door, this is your “achievable” project. The mounting is surface-level. The mechanics are visible. It’s forgiving, within reason.
Mortise devices are the integrated, sleek nightmares. The entire mechanism nests inside a pocket (the mortise) carved into the door’s edge. It looks fantastic. It’s incredibly robust. Installing one is a woodworking or metalworking project that demands precision most weekend warriors don’t possess. My biased, unfiltered opinion? Unless you own a router table and a death wish for your Saturday, admire these from afar and let a pro handle it.
Surface vertical rod devices. These look intimidating—a bar across the door with rods shooting up and down to secure at the head and sill of the frame. They’re for double doors or specific frames where a rim latch won’t cut it. The installation is less about deep cutting and more about obsessive, meticulous alignment. Annoying? Profoundly. But with a laser level and the patience of a saint, it’s within the realm of possibility.
The winner for the “good enough” mission is almost always the rim device. But here’s the catch they don’t put in the ads: the door *must* swing out. Egress 101. If it swings in, a panic bar is not just useless; it’s a code violation waiting for a tragedy. Full stop.
The Supplier Saga: Where You Buy It Matters More Than You Think
This is where projects go to die. You’ll find “panic bars” for sixty bucks on sketchy marketplaces. The photos look okay. The reviews are… sparse. Don’t. Just don’t.
You’re not buying a gadget. You’re buying a certified life-safety component. That certification—UL 305, BHMA A156.3—isn’t bureaucratic red tape. It’s a promise that the thing has been physically tortured in a lab and failed a thousand times so it won’t fail on you once. A cheap, uncertified bar might bend, jam, or latch improperly under pressure. That’s a liability trap wrapped in a false economy.
A reliable supplier isn’t just a vendor; they’re your first line of defense. They provide coherent, human-readable instructions. They have templates that aren’t drawn by a blindfolded intern. They stock replacement parts because they expect their hardware to last decades. The product page will have the installation manual available for download *before* purchase. If it doesn’t, click away.
How do you spot them? Ignore the glossy hero shots. Scour the specs for the safety labels. Then, read the one- and two-star reviews. Not the five-star “arrived quickly” junk. Dig into the negatives. “Holes didn’t align.” “Instructions were for a different model.” “Latch mechanism failed after a month.” That’s your preview. A dedicated industrial or door hardware distributor often beats the giant everything-marts. They might cost 15% more. Consider it tuition for not having a nervous breakdown.
Gathering Your Arsenal: Tools Are Therapy
You can’t do brain surgery with a butter knife. This project demands respect in the form of proper tools. A wobbly drill and a dull bit will make you hate your life.
Here’s the shortlist:
* A decent corded or high-torque cordless drill. This is your workhorse.
* Sharp, high-quality drill bits. For metal doors, you need cobalt or titanium-coated bits. For wood, brad-point bits are your friend to prevent splintering.
* A hole saw kit. For the big bore required for the latch body. Don’t cheap out here.
* A center punch. This is non-negotiable. It creates a small dent for your drill bit to sit in, preventing “bit walk” that turns your precise hole marks into abstract art.
* A sharp chisel and a hammer. For cleaning up wood or adjusting strike plate mortises.
* A magnetic torpedo level. Because your eyes lie.
* Painter’s tape. To hold templates in place without residue.
* Safety glasses. Metal shavings in the eye are a uniquely miserable experience.
Feel overwhelmed by that list? Good. That’s the point of laying it out. This isn’t a screwdriver-and-hope operation.
The Installation Psy-Ops: A Play-by-Play of Controlled Chaos
Forget linear, serene step-by-steps. Here’s how it *actually* goes down, with commentary.
**Phase 1: The Unboxing & Existential Dread.** Open the box. Lay every screw, every spacer, every mysterious little bracket on a clean towel. Compare to the parts list. There will be a moment of confusion. A piece will look alien. Breathe. The manual’s exploded diagram is your Rosetta Stone. Study it.
Read the entire manual. Yes, even the legalese about compliance and warnings. It contains clues.
**Phase 2: Template Agony.** The paper template is your nemesis and your guide. It is also notoriously flimsy and confusing. This phase determines everything.
Align it with religious fervor. Which edge references the door edge? Is it for the *face* of the door or the *edge*? Triple-check. Use painter’s tape to secure it flat. Don’t let it shift.
Now, the center punch. Over every marked hole center, give it a firm, precise tap. This creates a physical starting point for your drill. This single act prevents 80% of installation errors. Do not skip it.
**Phase 3: The Point of No Return (Drilling).** Your heart will race. It’s okay.
Start with the smallest pilot holes. They’re easier to correct if you’re slightly off. Work your way up to the larger diameters. For the big hole in the door edge for the latch, use the hole saw. On a metal door, go slow. Use cutting fluid. Let the tool do the work. The sound will be awful. The vibration will be unsettling. This is normal.
Wear your glasses. The shavings will fly.
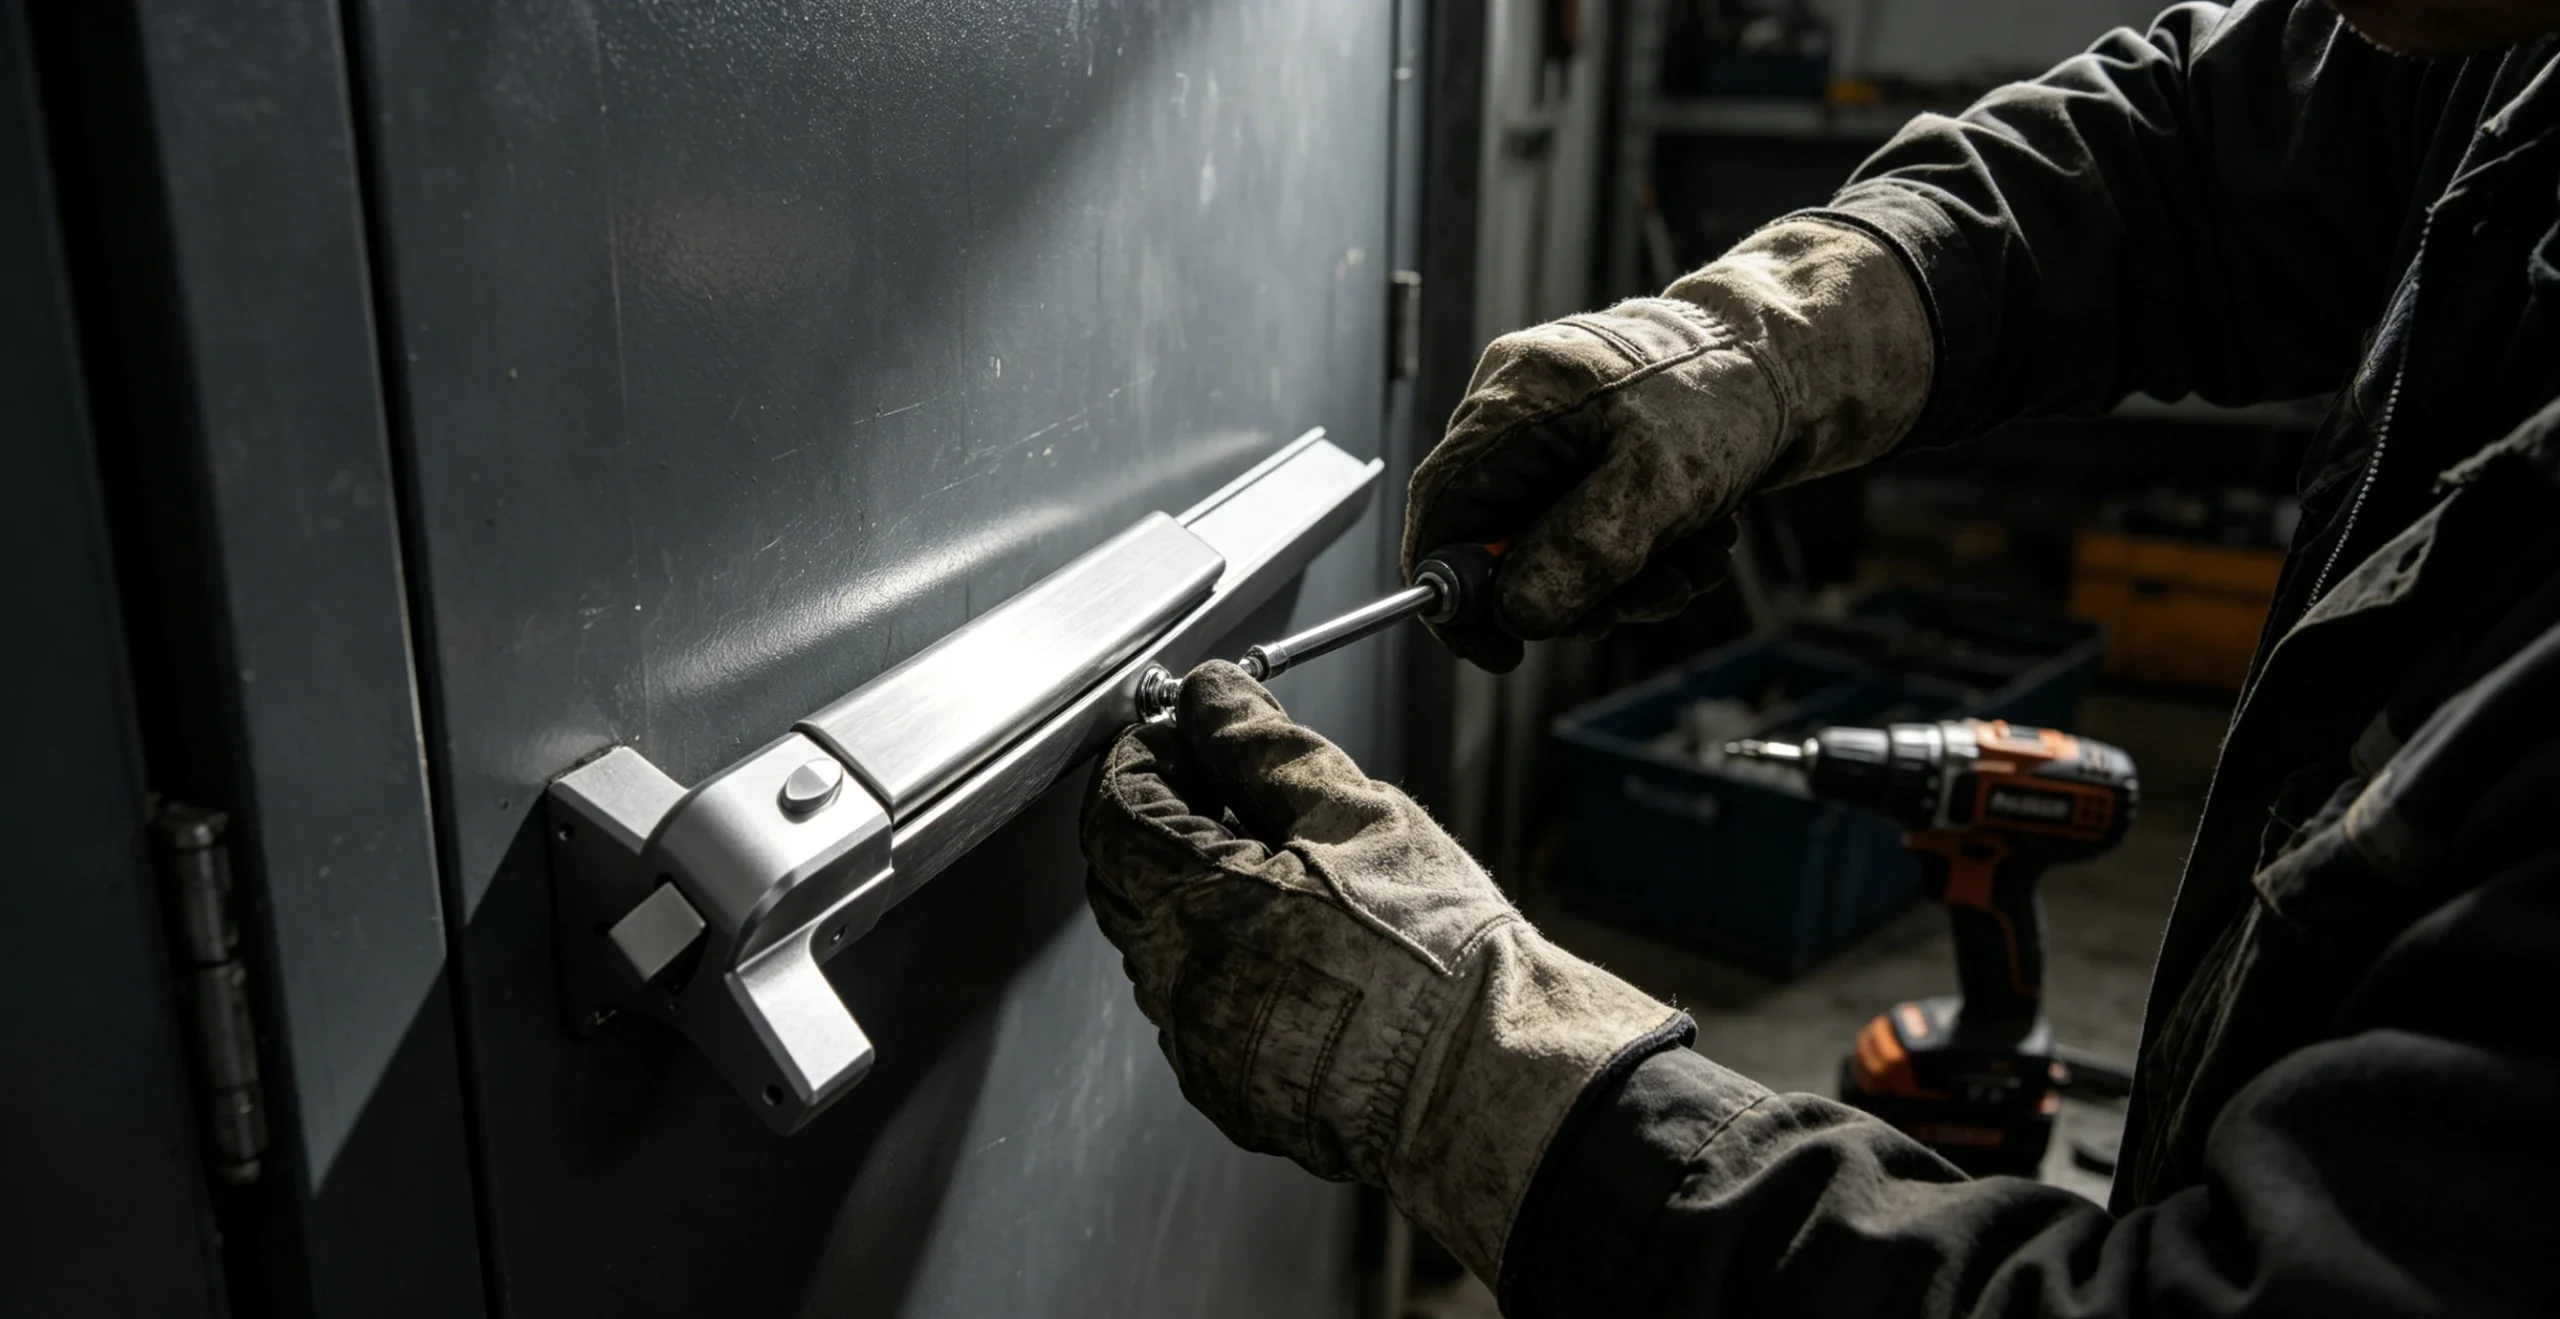
**Phase 4: The Dry Fit (Where Hope Meets Reality).** Before you drive a single final screw, try to assemble the major components. Place the chassis on the door. Does it sit flat? Do the bolts line up? Install the latch mechanism into the edge. Does it protrude correctly?
Engage the latch with the strike plate on the frame. This is the moment of truth. Does the door latch securely? Does the panic bar, when pushed, retract the latch smoothly and completely? Or is there binding, grinding, resistance?
This is your adjustment window. You might need to elongate a screw hole with a file. You might need to chisel out a millimeter more from the strike plate recess. This is not failure; this is fine-tuning.
A case study from my own past: a retrofit on a 70s-era metal door. Everything seemed perfect until the dry fit. The latch wouldn’t fully retract. The problem? A tiny burr of metal inside the edge bore, left by the hole saw. Five minutes with a round file solved it. If we’d just screwed it together, it would have failed within a week.
**Phase 5: Final Assembly & Relentless Testing.** Once it moves smoothly, secure all screws. Follow the torque specifications if given. Don’t overtighten and strip the threads.
Now, test. Operate the bar fifty times. Then fifty more. It should be consistently smooth, with a positive latch engagement every time. Test from inside. Have someone outside to let you back in if needed—don’t lock yourself out with a malfunctioning device.
The work isn’t done until the device is proven reliable.
When to Wave the White Flag (It’s a Sign of Wisdom, Not Weakness)
You hit a wall. The template is incomprehensible. The holes are misaligned. The door is hollow-core and crumbling. The latch simply will not engage right.
Stop.
This is the most important advice in this entire rant. There is zero glory in muscling through a faulty safety installation. A panic bar that doesn’t work is worse than no panic bar at all—it provides a lethal false sense of security.
Calling a professional at this point isn’t a defeat. It’s a strategic pivot. You’ve done the diagnostic work. You can explain the problem. You’ve saved them the initial assessment time. You’re an informed client, not a helpless one.
Get the device installed correctly. Sleep well knowing it’s up to code.
Because at the end of all this, that’s the goal. Not a trophy for your DIY wall. A functional, compliant, boringly reliable piece of hardware that everyone hopes they’ll never need to use for real. That’s the “good enough” standard. And it’s the only one that matters.
Now go look at your door again. See it not as a problem, but as a project with a very clear finish line: a confident *thunk* of a latch engaging, and the smooth, silent swing of a bar doing its one job perfectly.
It is recommended to consult the local Authority Having Jurisdiction (AHJ), such as the fire marshal or fire code official.