The Procurement Manager’s Guide to Panic Bar Samples: The Grumpy Truth
Right. So you’ve got three panic bar samples sitting on your desk. They probably took weeks to arrive and now represent a baffling, metallic puzzle. The instinct is to pick the shiniest one, or the one from the vendor who sent a tin of biscuits with the quote. Resist that instinct. That’s how you buy expensive garbage that fails when it matters most. I’ve been doing this since exit devices were powered by optimism and sheer will. Let’s talk about how to test these things like a professional skeptic—because that’s exactly what your role demands.
The Unboxing: Where First Impressions Scream the Truth
Don’t just tear into the box like a kid on Christmas. Observe. Is the packaging a flimsy carton with some sad, recycled packing peanuts? That’s the first red flag. A manufacturer that doesn’t respect their product enough to ship it properly doesn’t respect you, your timeline, or the critical nature of the device. A quality panic bar arrives like a surgical tool: secured, protected, and immaculate. Cosmetic damage straight out of the box isn’t a minor inconvenience; it’s a thesis statement on their quality control. Or the glaring lack thereof.
Now, pick it up. Heft it. Your hands are calibrated instruments of cynicism. A cheap bar feels hollow, tinny, light—like a prop. A proper one has authoritative weight. That weight is metal, mass, and intent. It’s the difference between a toy and a tool built to withstand the ten-thousandth frantic shove from a panicked person. Compare samples side-by-side. The heaviest one is already telling you a story about durability.
The Visual Autopsy: The Devil’s in the Details (And the Finish)
Get a good light. Put on your readers. This isn’t about aesthetics; it’s forensic analysis. Examine the finish. Not just the color. Look at the edges, the corners of the end caps. Is the coating thin, flaky, or discolored? A poor finish will degrade, corrode, and make your brand-new building look derelict in two years. Run your finger along the back of the crossbar. Is it smooth, or does it feel like a cheese grater with sharp seams and rough casting marks? That’s a uniform-ripper, a skin-shaver. Unacceptable.
Now, look at the fasteners. Are they standard Phillips, flathead, or Torx screws? Or are they some proprietary, alien-star pattern that requires a special tool only available via a secret handshake? The latter is a deliberate, cynical ploy to create vendor lock-in. It’s a deal-breaker. Walk away.
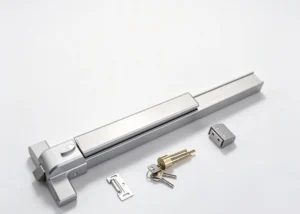
Peer at the latch mechanism itself. Don’t activate it yet. Just look. Does it look like a solid, milled chunk of metal, or a stamped, tinny afterthought? The latch is the heart. It should look like it wants to bite into the strike plate with malicious, gleeful intent.
The Functionality Gauntlet: From Gentle Nudge to Simulated Chaos
Time for the main event. But we’re systematic, not savage.
1. The Smoothness Test
Apply slow, steady, increasing pressure to the bar. No dramatic slams. It should engage with a consistent, fluid motion. No dead space, no mushiness, no grinding, and definitely no high-pitched squeal that reminds you of a stepped-on toy. That smoothness is engineered precision. Its absence is engineered cost-cutting.
2. The Activation Force Test (The Code is Your Friend)
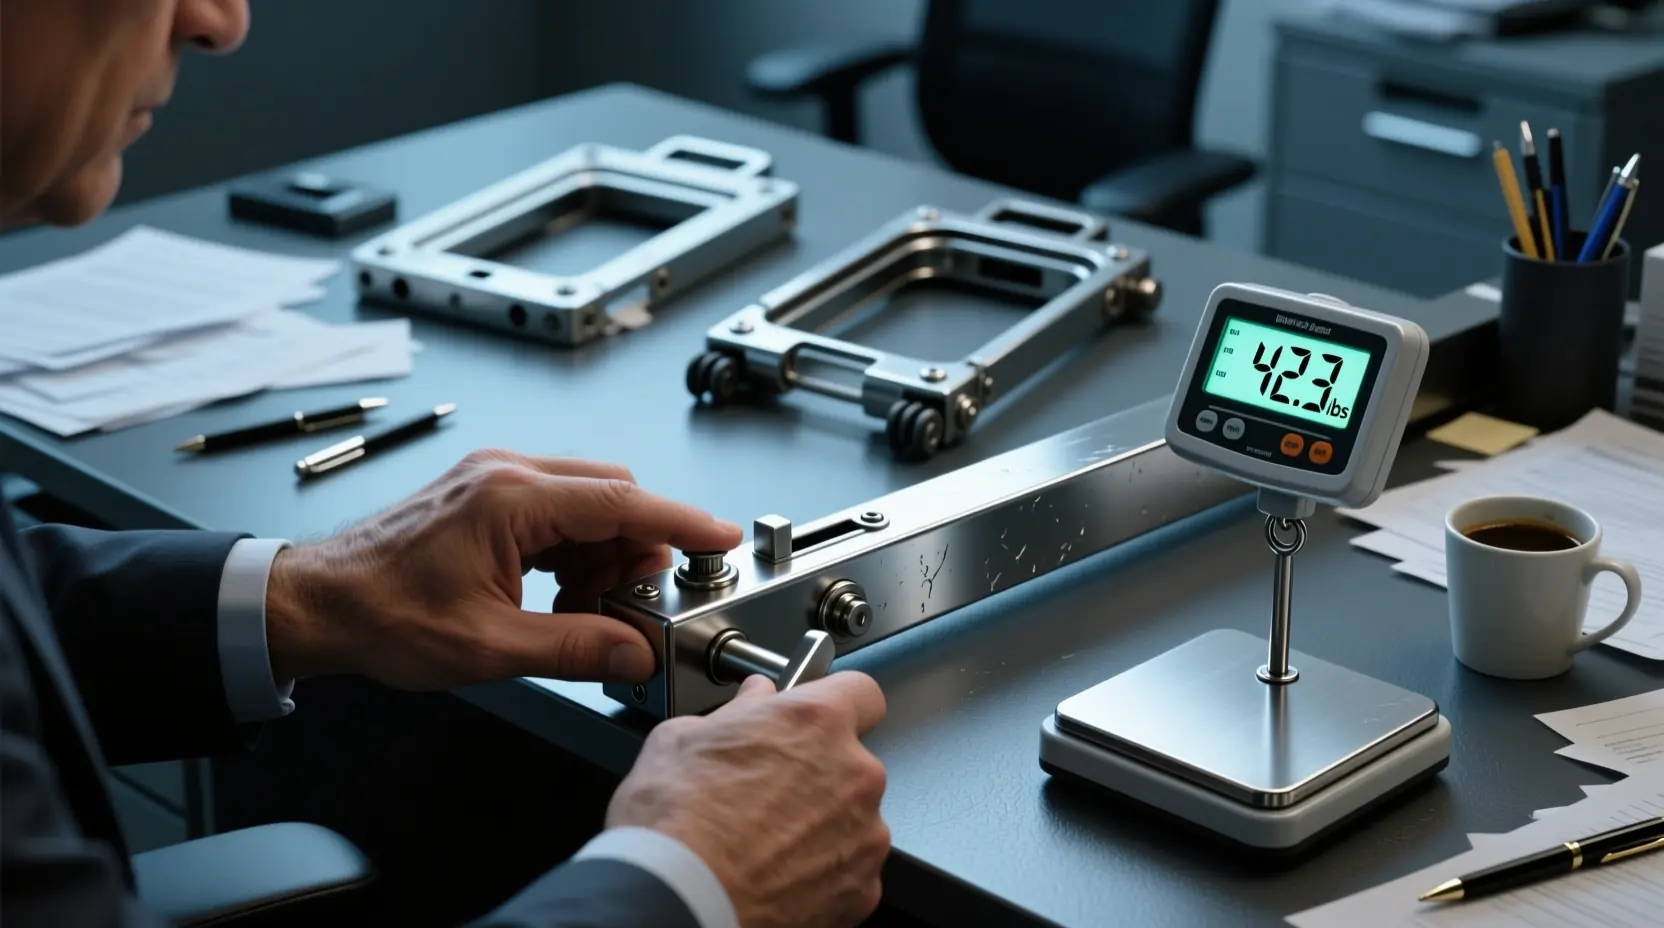
This isn’t optional. Most codes (like NFPA 101) state that a panic device shouldn’t require more than 15 lbs of force to operate. Got a small luggage scale? Hook it on the bar and pull. I’m serious. The variance between samples will shock you. One might be a compliant 10 lbs. Another might be a grunting, unreasonable 25 lbs. The heavy one is an accessibility lawsuit and a potential death trap waiting to happen. Document the number.
3. The Feedback Test: Feel and Sound
When the latch retracts, you need two clear signals: a distinct click you can feel through the bar, and a solid, metallic snick you can hear. Not a vague, muffled thud. That clear tactile and auditory feedback is critical. It tells a visually impaired person, someone in smoke-filled darkness, or just a panicked individual that the door is now unlocked. It’s non-verbal communication of safety. A silent, mushy mechanism communicates only doubt.
4. The “Moron Test” (For Vertical Rod Devices)
If it’s a device with vertical rods, test each touchpad independently. Push just the crossbar. Good. Now push just the top touchpad. Then just the bottom. All three actions must independently and reliably retract the latch. I’ve lost count of the samples where the bottom rod binds or the top pad is just for show. This test finds the weak link in the kinematic chain.
5. The Cycle Test (The Soul-Crushing, Essential One)
You won’t do 10,000 cycles. But you will do 100. Right now. Clamp the sample in a vise or brace it firmly. Operate it. One-Mississippi, release. Two-Mississippi, operate. Repeat. One hundred times. Does the action improve, degrade, or stay consistent? Does a hitch or a squeak develop? Does the finish wear at the contact points? This simulates a week at a busy service entrance. If it fails your 100 deliberate cycles, it will fail in the wild. Period.
The Disassembly Post-Mortem: For the Truly Fearless
If you’re allowed and the screws aren’t those proprietary nightmares, open it up. This is where you see the vendor’s soul.
- Springs: Are they robust, tightly-wound coils, or sad, stretched-out whispers of metal?
- Latch Bolt: Is it a single solid piece, or two bits spot-welded together? Welds fail.
- Internals: Are surfaces cleanly machined, or are they rough, flash-riddled cavities that will collect grime and seize up?
- Lubrication: Is there a modest, professional application of appropriate grease, or is it dripping with gunk-attracting goo, or—worse—bone dry?
The outside is the vendor’s suit. The inside is their character.
The Ironclad Rule: The Paper Trail is Your Shield
Document everything. Photograph the samples. Note the model numbers stamped on the actual hardware, not just the catalog. Write detailed observations: “Vendor B sample: rough machining on back edge, squeak developed at cycle 73, finish appears thin on touchpad.” This isn’t just for your decision matrix. This is your CYA (Cover Your Anatomy) file. When the installed units fail and the vendor points the finger at your installers, you produce your contemporaneous notes and say, “The flaw was present in the sample. You supplied a defective product.”
Why This Grumpy, Pedantic Process Matters
You’re not buying a cabinet pull. You are procuring a legal, ethical, and moral guarantee. Your signature on the PO is a promise that this device will perform under the worst imaginable conditions for people at their most vulnerable. The wrong choice isn’t an aesthetic blunder; it’s a compromise of life safety infrastructure. Your name is on that chain of custody.
AHJ WARNING: NOTHING IN THIS GUIDE MATTERS IF THE DEVICE ISN’T APPROVED BY YOUR LOCAL AUTHORITY HAVING JURISDICTION (AHJ). The Fire Marshal, the Building Official—they are the final arbiter. They can and will reject the most beautifully engineered, perfectly tested hardware if it doesn’t carry the correct listing (UL, BHMA, etc.) for your specific application. Step One, before requesting a single sample, is to call them. Ask: “What markings do you require on panic hardware for this project?” Document their answer. Verify the sample has those exact markings. All your diligent testing is a fascinating academic exercise if the AHJ points and says, “Not listed. Rip it out.” The cost of that mistake lands squarely on you.
Now go be grumpy. It’s your job.