When Your Panic Bar is Laughing at Your Door (And So Am I)
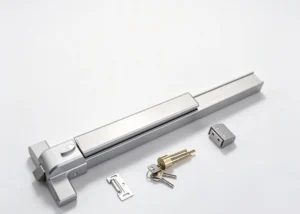
So. You’ve got a problem. You, the intrepid procurement manager or harried facilities person, have a panic bar—that thing people shove to get out during a fire—that’s too damn long for your door. It’s hanging off the edges like a pair of clown shoes. The architect is in Tuscany. The supplier is useless. And the fire marshal’s inspection is looming like a storm cloud. You’re left holding a 42-inch piece of life-safety hardware and staring at a 28-inch door, wondering if a hacksaw is the answer.
The short, deeply cynical answer is: Yes. But it’s a terrible idea. What you’re contemplating isn’t a modification; it’s a de-listing. You’re about to take a certified, lab-tested piece of emergency equipment and turn it into a garage project. The ghosts of every liability lawyer you’ve ever met are stirring.
But you’re here because you have no choice. The budget is spent. The schedule is shot. The door is, for reasons known only to God and a misguided designer, non-standard. So, let’s get grumpy. Let’s talk about how to butcher this thing properly, because doing it wrong isn’t just an oopsie—it’s a potential lawsuit.
The Tool List: Or, Why You’re Not Equipped for This
Put down the DeWalt you got for Christmas. This isn’t building a deck. You’ll need:
- A Real Miter Saw with a Fine-Tooth Metal Blade: A hacksaw is the path to wavy, regret-filled cuts. An angle grinder will melt the aluminum and is a fantastic way to start a different kind of emergency.
- A Drill Press: Your cordless drill is for hanging pictures. For drilling precise, perpendicular holes in slippery aluminum, you need a press. If you don’t have one, find a machine shop. This is not a negotiation.
- A Sharp Center Punch & Hammer: Your guide for the drill bit. Skip this, and your bit will wander, ruining the bar and your afternoon.
- Metric Taps & Dies (Likely M5 or M6): Surprise! It’s not Imperial. Because of course it isn’t. You’ll need the exact tap to match the set screws.
- Deburring Tool, Files, Sandpaper: The boring, critical cleanup phase. Metal shavings left inside will cause the mechanism to bind. Then your panic bar won’t panic. It’ll just sit there, useless.
- The Manufacturer’s Instructions: You threw them away, didn’t you? Go download the PDF. I’ll wait, tapping my foot.
The Process: A Symphony of Swearing and Precision
Step 1: The Arithmetic of Regret
Don’t just measure the door. Measure the backset—the distance from the door edge to the crossbar center. Now, stare at the panic bar. The end caps are fixed. The magic happens in the middle. You need to calculate how much of that middle tube you can remove so the end caps land perfectly over the holes. Do this wrong, and you’ve made a very expensive paperweight. Draw it on the wall. Use crayons. I don’t care. Get it right.
Step 2: Disassembly: Where Springs Become Projectiles
READ THE INSTRUCTIONS. There is a specific sequence to release the tension on the internal crossbar mechanism. If you just start unscrewing things, you will launch a spring-loaded rod across the room with enough force to put a hole in drywall (or your ego). Lay every single part out in order on a clean bench. Take a photo after removing each component. You think you’ll remember. You won’t.
Step 3: Marking the Guillotine Line
With the bare aluminum extrusion in hand, use a sharp square and a fine marker. Mark your cut line all the way around the tube. This isn’t trimming a broomstick. A crooked cut is a failed cut.
Step 4: The Cut (No Sparks, No Melting)
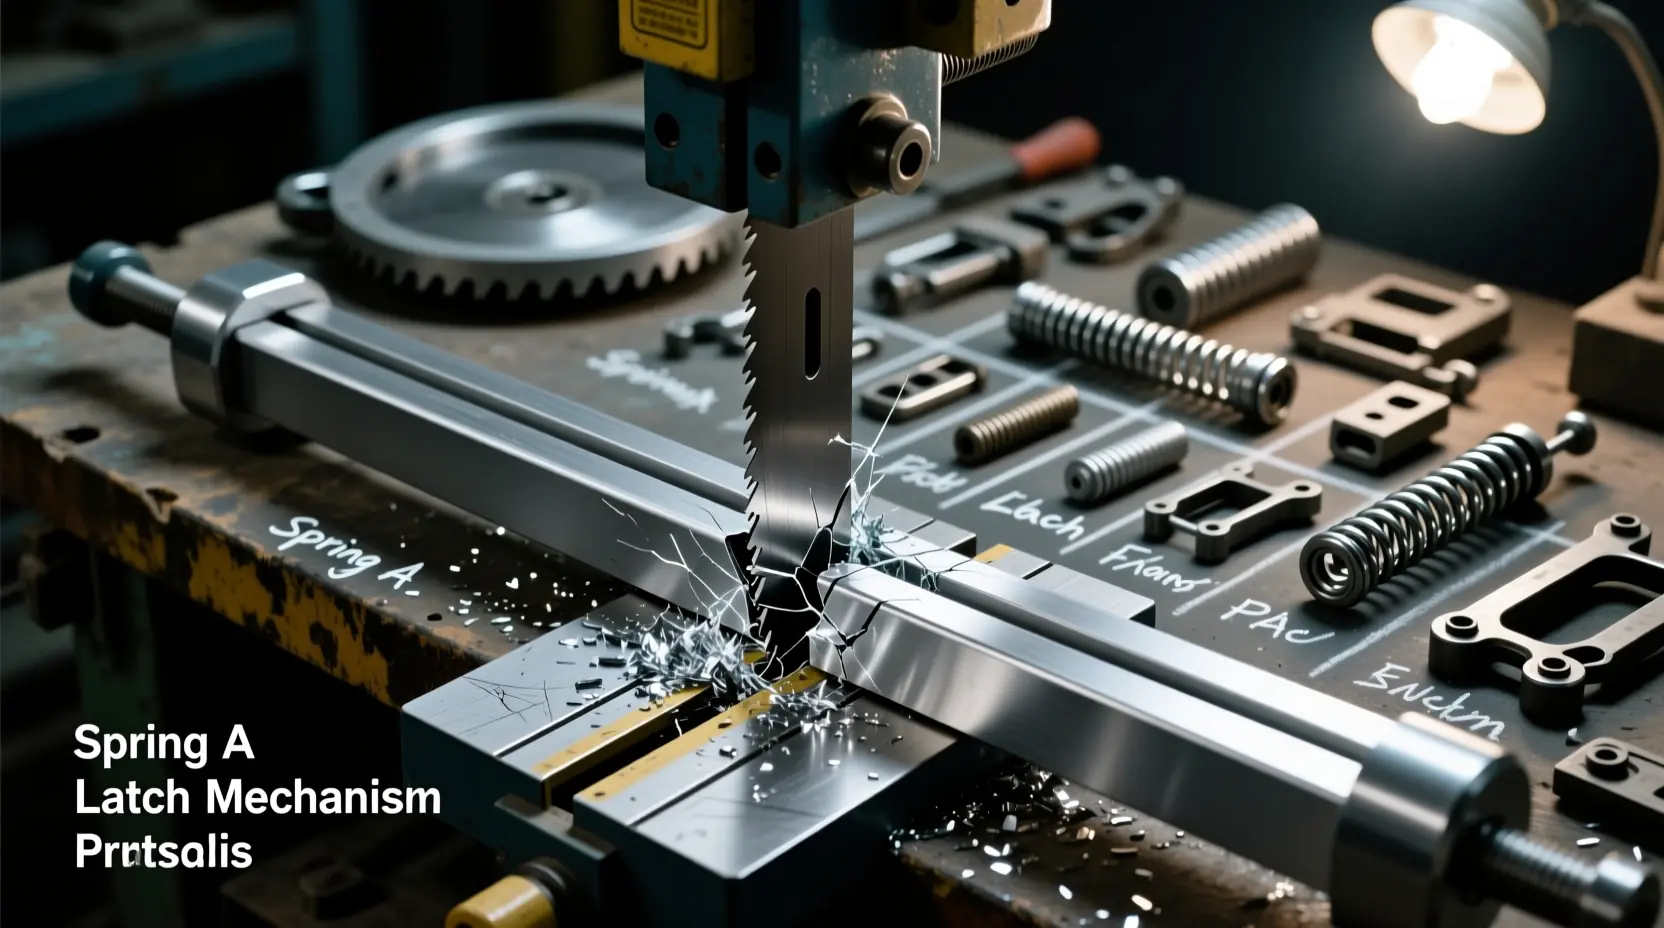
Clamp the bar securely in the miter saw. Use a slow, steady feed. Let the blade do the work. You’re cutting through two thin walls with air in between. Expect a slight pinch at the end. The goal is a clean, square end. Not “good enough.”
Step 5: The Soul-Crushing Cleanup
File the outside edges smooth. Now, deburr the inside of the cut. Run your finger around the inner edge. Any sharp burr left behind will catch the internal mechanism later. This step is mind-numbing and vital. Skip it at your peril.
Step 6: The Hole-Drilling Gauntlet (This is Where You Fail)
The original mounting holes are now in the wrong place. You must drill and tap new ones in the virgin end of the tube.
- Locate: Use the existing hole pattern on the uncut end as a template. Measure precisely from the end of the bar to the hole center. Transfer this measurement to your freshly cut end. Whack it firmly with the center punch. This dimple is your only hope.
- Drill: In the drill press, with the bar locked down, drill a pilot hole. Then, drill to the final size for your tap (e.g., 4.2mm for an M5 tap).
- Tap: The moment of truth. Use cutting fluid. Start the tap perfectly straight. Turn a little, back off to break the chip, turn again. Feel for the threads forming in the soft aluminum. If you lean on it or go crooked, you’ll strip the threads. Then you must drill larger (if space allows) or admit defeat. The margin for error is zero.
Step 7: Reassembly: The 3D Jigsaw Puzzle
Reverse your disassembly photos. Slide the internal rod, springs, and latch back in. Everything must seat perfectly in both ends. The springs will resist. This is a two-person, four-hands, one-mouth-full-of-curses operation. Re-tension everything exactly as the manual says. Test the crossbar action. It should depress and retract with a positive, smooth click. If it binds, you have debris inside (Step 5) or misaligned parts.
Step 8: The Installation & The Inevitable Flaw
Hold it up to the door. Do the holes align? Does the latch throw? If yes, install it with a couple of screws. Operate it fifty times. It must work flawlessly every time. Now, look at the cut line. You’ve exposed bare, shiny aluminum on an anodized bar. It looks terrible. You’ll need touch-up paint, and it will always be visible. A permanent reminder of your hubris.
The Unspoken Truths (The Part Suppliers Hide)
- Warranty: It’s gone. Poof. If the latch mechanism fails in six months, you’re buying a whole new unit.
- Structural Integrity: That hollow bar has an internal stiffener. Shortening it changes its flex. It might feel fine. It might feel sloppy. You’ve altered a tested system. You’re the engineer now. Congratulations.
- Code Compliance: Just kidding. There isn’t any.
THE AHJ WARNING: YOUR GET-OUT-OF-JAIL-FREE CARD IS BURNED
PAY ATTENTION. The device you just modified carried a listing from UL, Intertek, or another testing lab. That listing was for the factory-built configuration. The moment your saw blade touched it, that listing was void. You have created an unlisted assembly.
The Authority Having Jurisdiction (AHJ)—your local fire marshal or building inspector—has one job: to ensure life safety. If they see your custom-cut, shop-fabricated panic device during an inspection, they will red-tag it. The door will fail. The occupancy permit may be withheld. You will be ordered to remove it and install a properly sized, unmodified, listed device.
Some manufacturers offer field-trimmable panic bars. These are specifically designed, tested, and listed to be cut to size in the field, with pre-marked trim lines and instructions. You should have bought one of those. If you didn’t, you are assuming all legal and liability risk for this door’s performance in an emergency.
So, can you cut a panic bar to fit a narrow door? Technically, yes. It’s a fussy, tool-intensive process that requires a blend of machinist skill and blind optimism. But the real question is: Should you? Unless you enjoy professional liability and explaining your work to a frowning fire marshal, the answer is a resounding, grumpy no.
Do it right. Buy the correct, listed hardware next time. Or better yet, make the architect come back and fix their stupid door.