Look. You need panic hardware. You’ve got the finish, the fire rating, the budget. You’re about to click ‘buy.’ Stop. You’re on the verge of wasting a thousand dollars and earning a permanent spot on your supplier’s idiot list. Why? Because you, like most procurement pros in a hurry, are about to guess the stile width. Don’t. This is the grumpy, no-BS guide to measuring it right the first time.
What Even Is a “Stile,” and Why Should You Care?
A door isn’t a solid block. It’s a frame. The vertical members on the lock side and hinge side are the stiles. For panic hardware, we care about the lock stile—the vertical edge where the device mounts. The stile width is the measurement from the very edge of the door to the inside corner of the recess (the rabbet). It is not the door’s thickness. Confusing the two is the cardinal sin of hardware procurement and the fastest path to a door that looks like it was chewed by a beaver.
The “Why” – Or, The Reason I’m Already Annoyed
Panic hardware is engineered for a specific range of stile widths. Install it on a stile that’s too narrow, and the mounting screws will blow out the wood or metal, creating a structural and aesthetic disaster. Too wide, and the mechanism won’t engage properly, leaving you with a non-latching, non-compliant liability. The manufacturer’s data sheets aren’t suggestions; they are the literal blueprint for a functional install. Ignore them at your professional peril.
The Toolkit (Keep It Simple)
- A Metal Tape Measure: Cloth tapes stretch. Don’t be that person.
- A Pencil: For writing the measurement on the door itself, like a civilized professional.
- Your Eyes: Use them to identify the correct edge and the rabbet.
- (Optional, For the Fancy): A digital caliper. No one needs to know you used it.
The Step-by-Step: How to Measure Without Screwing It Up
- Find the Right Door & Edge: Work on the lock edge of the door. If the door is installed, this is non-negotiable. Identify the face the hardware will mount on.
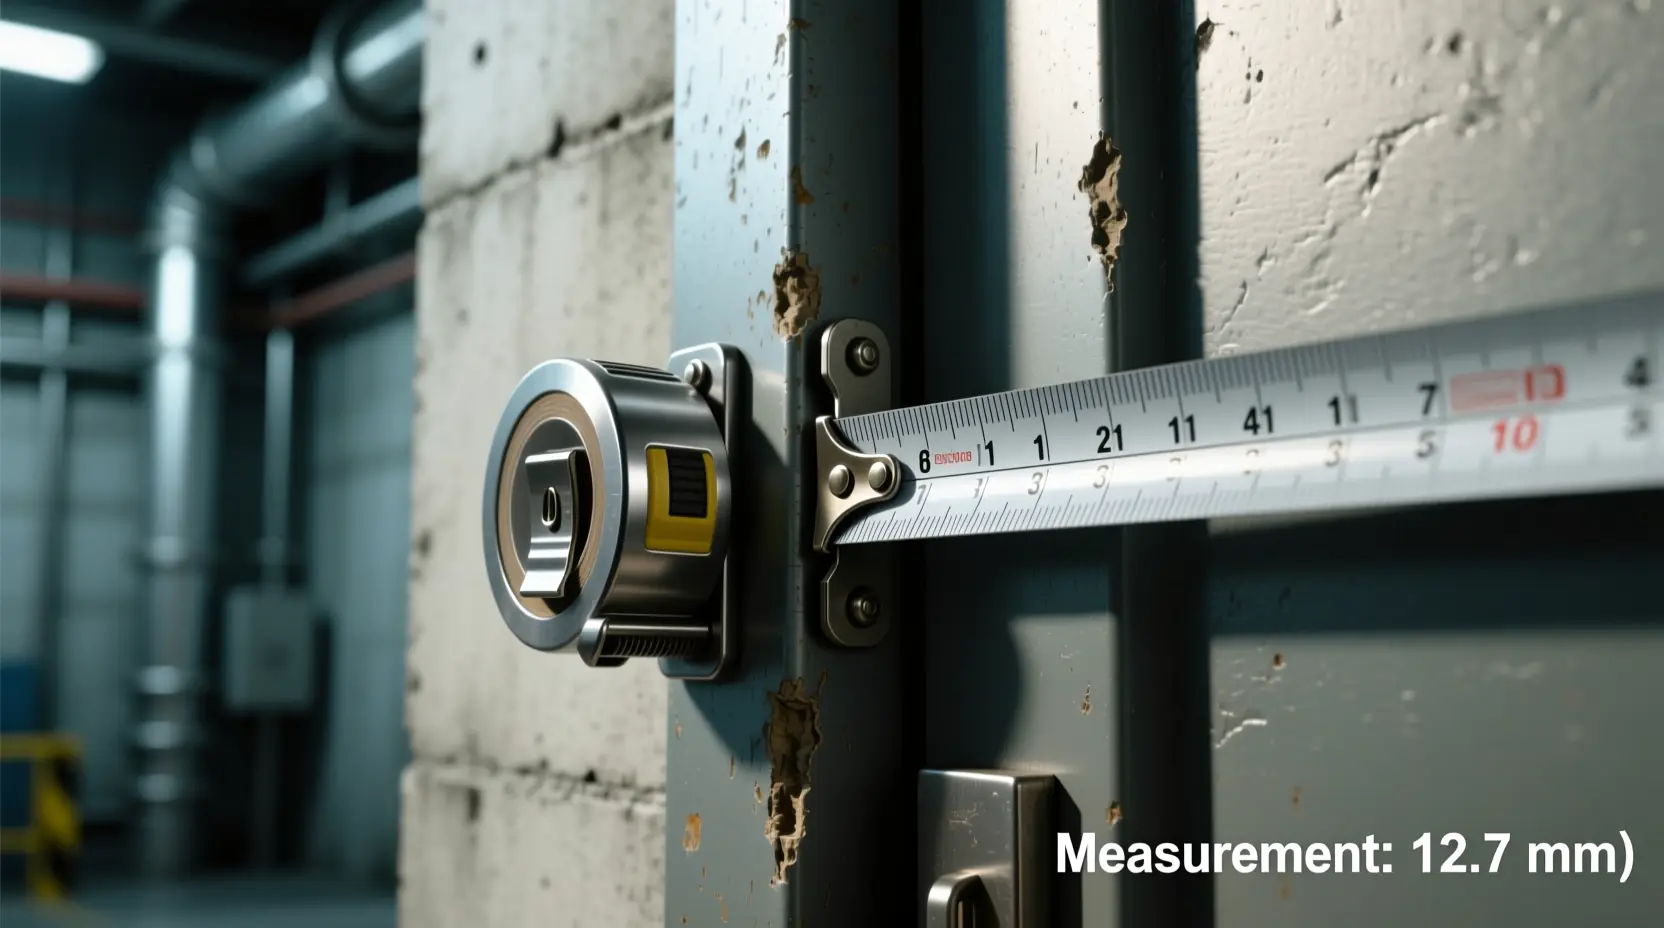
- Position the Tape: Hook your metal tape measure squarely on the very outside edge of the door. Not the face. The EDGE.
- Measure to the Rabbet: Pull the tape straight across the edge toward the center of the door. Stop at the inside corner of the recess (where the flat edge meets the perpendicular surface). This distance is your stile width.
- Document Immediately: Write “SW = [measurement]” on the top rail of the door in pencil. Take a photo. Send it to yourself and your project file.
- Verify in Multiple Spots: Measure at the top, middle, and bottom of the lock stile. Tolerances vary. Use the smallest measurement for ordering. Consistency is key; wild variance means you have a bad door.
- Speak the Language: Convert to the units used in your hardware catalog (typically inches and fractions in North America). 35mm is not “about an inch and a half.” It’s 1-3/8”. Precision matters.
Common Pitfalls (The Hall of Shame)
- Measuring Door Thickness: This is wrong. Always. If you do this, start the article over.
- Measuring to the Lock Bore: You’re measuring “backset,” not stile width. Different thing.
- Assuming Uniformity: “The last ten doors were 1-3/4′…” Great. Door eleven is different. Measure every single door. Every. Time.
- Trusting the Drawings: Architectural plans are aspirations. The physical door is reality. Measure reality.
The “But What About…” Section
Q: What if the door is already prepped for old hardware?
A: You’re likely doing a replacement. Measure the stile width in a clean, unprepped section of the edge. If the whole edge is compromised, you have a door problem, not just a hardware problem.
Q: Aluminum vs. Wood doors?
A: The principle is identical. Metal doors have stiles. Be even more precise, as tolerances are often tighter.
Q: My stile width is 1-11/16”, but the hardware range is 1-3/4” to 2-1/4”. What now?
A: You need different hardware or a compatible adapter/spacer kit. Do not force it. You will void warranties and ruin doors.
Final Reality Check
This isn’t bureaucracy; it’s basic geometry and physics. Taking five minutes to measure correctly prevents weeks of delay, hundreds in restocking fees, and a reputation for sloppy work. Measure twice. Order once.
⚠️ AHJ WARNING: THE NON-NEGOTIABLE FINAL WORD
This entire guide is predicated on one thing: doing the job correctly. But correctness, in the end, is not defined by you or the manufacturer’s catalog. It is defined by the Authority Having Jurisdiction (AHJ)—the local building official, fire marshal, or inspector on site.
Your perfectly measured, code-compliant, expertly installed hardware can still be rejected. The AHJ’s interpretation of the code is final. Your duty is to:
- Ensure the hardware and its installation meet all applicable codes (IBC, NFPA 101, etc.).
- Follow the manufacturer’s published instructions to the letter—these are part of the product’s listing.
- Have all cut sheets, installation manuals, and product listings readily available for inspection.
- Understand that the AHJ holds ultimate approval. Engage early, document communications, and never assume.
Consider accurate stile width measurement your ticket to the show. But the AHJ is the final critic. Do the foundational work right, but always plan for their review.